Building a Blog with Next.js and Markdown
Introduction: Why Your Business Needs a Blog
Imagine yourself as a business owner who is working tirelessly to launch your company, but your website feels like a ghost town. I know what it's like to put a lot of effort into a product only to discover that no one is purchasing it online. That can be altered by a blog. Sharing ideas is only one aspect of it; other goals include increasing traffic, fostering trust, and converting visitors into leads. We at Fykel have witnessed firsthand how a well-written blog can significantly increase your online visibility. This tutorial will teach you how to use Next to create a blog.js and Markdown, which simplify, optimize, and lower the cost of content creation.
Why Next.js for Blogs?
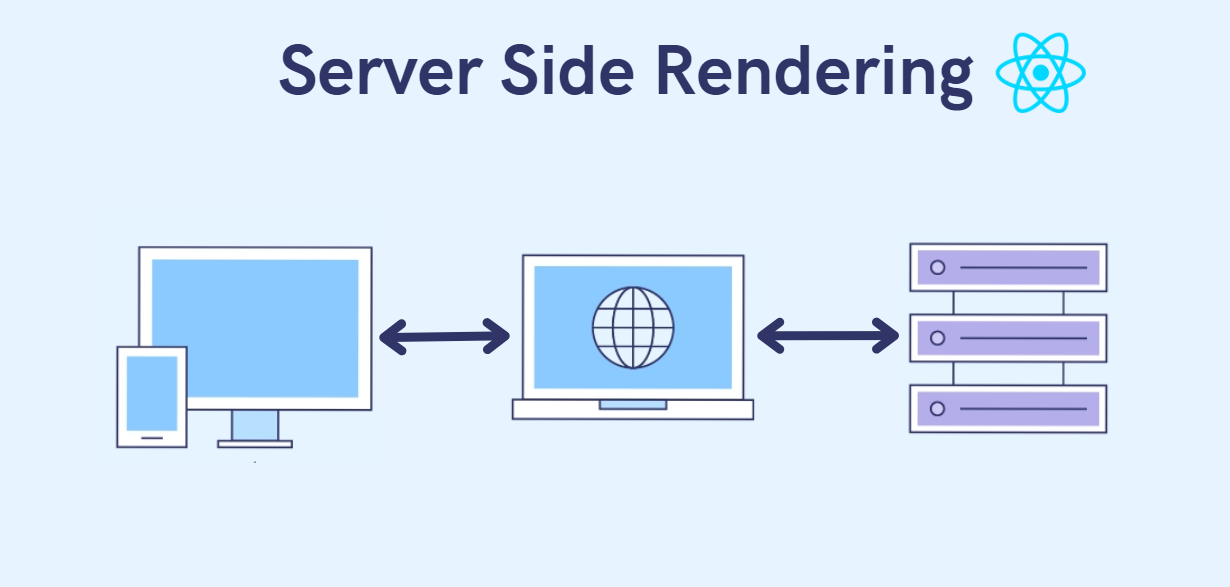
There are countless ways to create a blog, let's face it. Then why Next.js? To begin with, it is a React framework designed specifically for web applications that are optimized for search engines. Because of its support for server-side rendering (SSR) and static site generation (SSG), your blog entries will load quickly and have a high Google ranking. If your website takes longer than a few seconds to load, users will leave. Additionally, Next.js is developer-friendly, which lowers expenses for companies just like yours.
The worst part is this: Next.When combined with Markdown, js allows you to write content without having to deal with cumbersome CMS systems. This combination is what we use at Fykel to build reasonably priced web solutions that support company expansion. Wondering? To learn how we do it, visit our /services page.
Setting Up the Project
Step 1: Create a Next.js App
npx create-next-app@latest my-blog
cd my-blog
npm run dev
This creates a Next.js application, which will be visible at http://localhost:3000.
Step 2: Install Dependencies
npm install gray-matter remark remark-html
- gray-matter: Interprets Markdown frontmatter, such as dates and titles.
- Markdown is converted to HTML for rendering using remark and remark-html.
Step 3: Organize Your Project
Make a posts folder for Markdown files in the root of your project.
my-blog/
├── pages/
├── posts/
├── public/
├── package.json
Integrating Markdown with Next.js
Step 1: Create a Markdown Post
Make a file named first-post.md in the posts folder:
---
title: My First Blog Post
date: 2025-06-15
description: A sample blog post to boost your SEO with Next.js.
---
# Welcome to My Blog

This is my first post, built with **Next.js and Markdown**. Stay tuned for more!
Step 2: Read Markdown Files
Create a utility function in lib/posts.js:
import fs from 'fs';
import path from 'path';
import matter from 'gray-matter';
import { remark } from 'remark';
import html from 'remark-html';

const postsDirectory = path.join(process.cwd(), 'posts');

export function getAllPostIds() {
  const fileNames = fs.readdirSync(postsDirectory);
  return fileNames.map((fileName) => ({
    params: {
      slug: fileName.replace(/\.md$/, ''),
    },
  }));
}

export async function getPostData(slug) {
  const fullPath = path.join(postsDirectory, `${slug}.md`);
  const fileContents = fs.readFileSync(fullPath, 'utf8');
  const { data, content } = matter(fileContents);

  const processedContent = await remark().use(html).process(content);
  const contentHtml = processedContent.toString();

  return {
    slug,
    ...data,
    contentHtml,
  };
}
Step 3: Create Dynamic Blog Pages
In pages/posts/[slug].js:
import { getAllPostIds, getPostData } from '../../lib/posts';
import Head from 'next/head';

export async function getStaticPaths() {
  const paths = getAllPostIds();
  return {
    paths,
    fallback: false,
  };
}

export async function getStaticProps({ params }) {
  const postData = await getPostData(params.slug);
  return {
    props: {
      postData,
    },
  };
}

export default function Post({ postData }) {
  return (


        {postData.title}


      {postData.title}
      {postData.date}


  );
}
Adding Features to Your Blog
Blog Index Page
In pages/index.js:
import { getAllPostIds, getPostData } from '../lib/posts';
import Link from 'next/link';
export async function getStaticProps() {
const postIds = getAllPostIds();
const posts = await Promise.all(
postIds.map(async ({ params }) => await getPostData(params.slug))
);
return {
props: { posts },
};
}
export default function Home({ posts }) {
return (
My Blog
{posts.map(({ slug, title }) => (
-
{title}
))}
);
}
Add Categories or Tags
---
title: My First Blog Post
date: 2025-06-15
description: A sample blog post to boost your SEO with Next.js.
tags: [tech, next.js]
---
Make a dynamic tag page similar to pages/tags/[tag].js.
Search Functionality
Install:
npm install fuse.js
This can be used to implement a client-side search. For examples, view your /portfolio.
Styling Your Blog
Install Tailwind:
npm install -D tailwindcss postcss autoprefixer
npx tailwindcss init -p
Edit tailwind.config.js:
module.exports = {
  content: [
    './pages/**/*.{js,ts,jsx,tsx}',
    './components/**/*.{js,ts,jsx,tsx}',
  ],
  theme: {
    extend: {},
  },
  plugins: [],
};
Update styles/globals.css:
@tailwind base;
@tailwind components;
@tailwind utilities;
Deploying Your Blog
Step 1: Push to GitHub
git init
git add .
git commit -m "Initial blog commit"
git remote add origin
git push -u origin main
Step 2: Deploy with Vercel
Create an account on Vercel, link your repository, and launch.
Step 3: Configure a DomainDirect your domain to Vercel. If assistance is required, see /prices.
Common Challenges and Fixes
- Slow Build Times: Make use of incremental static regeneration, or ISR.
- Oversights for SEO: Use meta tags at all times, and create a sitemap using next-sitemap.
protip: Double-check meta tags and sitemaps for better search visibility.
Conclusion: Your Blog is Live!
You can now create and maintain a quick, SEO-friendly blog that grows with your company using Next.js and Markdown. Inquiries? Please visit our contact page at /contact or send an email to [email protected].


